

Introduction: AI Is Changing the Game for Bloggers
Let's face it — writing blog posts used to be time-consuming, draining, and sometimes overwhelming. But in 2025, things have changed dramatically. Thanks to tools like ChatGPT, KoalaWriter, and Writesonic, bloggers today can generate high-quality content faster than ever.
And no — this isn't about replacing humans with robots.
It's about working smarter, not harder.
If you're:
- A beginner blogger trying to publish consistently
- An affiliate marketer juggling multiple product reviews
- Or a solopreneur building a niche site from scratch
…then learning how to write blog posts using AI can save you dozens of hours every month — while keeping your content authentic, readable, and SEO-optimized.
In this tutorial, I'll walk you through exactly how I (a non-native English speaker!) use AI tools to write blog posts that:
- Rank on Google
- Build trust with readers
- And generate affiliate income
No fluff, no hype — just a real step-by-step workflow you can follow, even if you've never used an AI writing tool before.
Why Use AI for Blog Writing?
Writing a good blog post takes time — research, outlining, writing, editing, formatting. If you're running a blog solo (like I am), doing that over and over can slow you down or burn you out.
That's where AI becomes a game changer.
Here's why using AI for blogging actually makes sense in 2025:
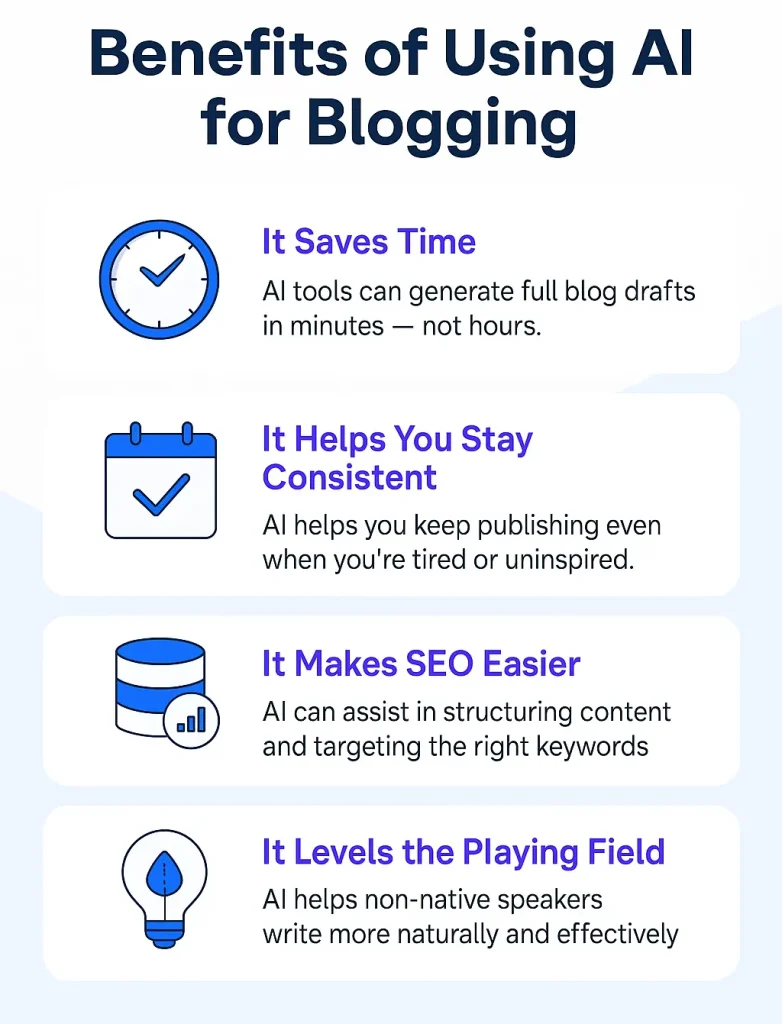
1. It Saves Time
AI tools can generate full blog drafts in minutes — not hours. You can go from idea → outline → article in one sitting. Instead of spending 3–5 hours on one post, you might spend just 30–60 minutes polishing what the AI gives you.
2. It Helps You Stay Consistent
One of the hardest parts of blogging is being consistent. AI helps you keep publishing even on days when you're tired, stuck, or uninspired. It gives you a first draft to work with — and that's often the hardest part.
3. It Makes SEO Easier
Some AI tools (like KoalaWriter or Writesonic) come with SEO modes or SERP-based outlines, helping you target the right keywords, structure your content properly, and rank faster.
Even with ChatGPT, you can train the tool to write content that matches search intent — with the right prompts.
4. It Levels the Playing Field
For non-native English speakers (like me), AI is a secret weapon. It helps polish grammar, improve tone, and write more naturally — so your content can compete with top blogs out there, no matter where you're from.
Bottom line? AI won't replace you — but it can multiply your output, sharpen your voice, and help you hit "publish" a lot more often.
Step 1: Choose Your Blog Topic and Keyword
Before you touch any AI tool, you need a solid topic and target keyword. This is the foundation of your entire article — especially if you want it to rank on Google.
How I Pick Blog Topics
Start with your audience:
- What problems are they trying to solve?
- What products are they researching?
- What questions do they Google every day?
You don't need a massive content calendar. Just think:
"What post would I actually click if I were my reader?"
For example:
- "Best AI writers for bloggers"
- "How to start an affiliate blog"
- "KoalaWriter review: Is it worth it?"
Simple. Clear. Focused.
Find the Right Keyword (Even Without Expensive Tools)
You don't need Ahrefs or Semrush to get started (though they help). Here are a few beginner-friendly options:
- Google Search Autocomplete
Type your topic in Google and see what suggestions show up. - Ubersuggest (free tier)
Gives you search volume, competition level, and related keywords. - AnswerThePublic
Great for finding "how," "what," "why" questions real people ask. - ChatGPT
Prompt it:
"Give me 10 low-competition blog post ideas for affiliate marketers in 2025."
Example Workflow (My Own)
Let's say I want to write about AI writing tools.
I go into Ubersuggest and type: "AI blog writer"
I see related keywords like:
- best ai writer for bloggers
- writesonic review
- chatgpt vs jasper
Perfect — that gives me both top list and comparison post ideas. Now I pick one as the focus keyword for my article.
Tip: Focus on one primary keyword per post. Use related terms naturally — don't stuff them.
Step 2: Pick the Right AI Tool
Now that you've got a topic and keyword in mind, it's time to choose the AI tool that will help you turn your idea into a full blog post.
Each tool has its strengths — and the best choice depends on your experience, budget, and how much control you want over the writing process.
1. ChatGPT (Best for Flexibility)
If you like customizing everything and want full control, ChatGPT (especially GPT-4) is a great starting point.
- You can create detailed outlines, draft blog posts, generate FAQs, meta descriptions, and more.
- But: you'll need to guide it carefully using prompts. It doesn't come with built-in blog workflows.
Great for: Bloggers with some experience, or those who enjoy refining content themselves.
2. KoalaWriter (Best for Speed + SEO)

KoalaWriter is designed specifically for bloggers.
- It generates full SEO-optimized posts with just a few clicks.
- You can enter a keyword, pick a tone, and Koala builds a draft that includes headers, intro, body, conclusion, and even an FAQ.
- It also has an Amazon review mode, great for affiliate writers.
Great for: Beginners, affiliate marketers, and bloggers who want to move fast.
3. Writesonic (Best All-Rounder for Blog Posts)
Writesonic offers a clean UI, full article generator, and built-in SEO mode.
- It balances flexibility and ease-of-use
- Offers templates, rewriters, summaries, and article flows
- Supports GPT-4 output at lower pricing than most competitors
Great for: Solo bloggers, content marketers, or niche site builders who publish regularly.
Writesonic Get Started For Free
What I Use (Real Example)
Personally, I use ChatGPT for planning and outlines, then KoalaWriter for quick long-form drafts. Sometimes I switch to Writesonic if I want more control over tone or need to rewrite product descriptions.
The best tool is the one that helps you publish consistently. Try a few and see which one clicks.
Step 3: Create an Outline with SEO in Mind
Before you let any AI tool generate paragraphs for you, it's critical to map out the structure of your blog post.
Why?
Because Google ranks structure — not just words.
Search engines want to see:
- Clear H2 and H3 headings
- Keyword relevance
- Topical completeness
- Reader-first formatting
Without a good outline, your post might feel messy or miss the mark — even if it's written in perfect English.
Start by Googling Your Target Keyword
Let's say your keyword is:
"How to write blog posts using AI"
Search it on Google and scan:
- Top 5–10 organic results
- What subheadings they use
- What questions show up in the People Also Ask box
- What common themes appear again and again?
You'll start noticing a pattern.
For example:
- Most top-ranking posts break the process into steps
- They include tools, pro tips, and SEO advice
- They often answer: "Is AI content detectable?" or "Can AI-written blogs rank?"
Take notes — that's your real-world outline framework.
Use AI to Help Build the Outline
Even better: ask AI to help you organize the flow.

Prompt idea for ChatGPT:
prompt:
"Act as an SEO expert. Create a blog post outline for the keyword: 'how to write blog posts using AI'. Structure it for a 2000-word guide targeting beginner bloggers."
You'll often get an outline that mirrors the SERP — but cleaner.
Then refine it manually:
- Add your own experience
- Group related sections logically
- Make sure it covers intent (informational? tutorial?)
Example Outline Flow
H1: How to Write Blog Posts Using AI (Step-by-Step Tutorial)
Intro
H2: Why Use AI for Blog Writing
H2: Step 1: Choose Your Topic
H2: Step 2: Pick Your AI Tool
H2: Step 3: Create an SEO-Friendly Outline ← this part
H2: Step 4: Generate a Draft
H2: Step 5: Edit & Personalize
H2: Step 6: Publish & Track
H2: Final Thoughts & Tips
With this structure in place, your AI content will be more organized, SEO-ready, and easier to optimize later.
Step 4: Generate the First Draft with AI
Now it's time for the fun part: turning your outline into a real blog post — with the help of AI.
This step can save you hours, but only if you know how to prompt the AI properly and what to expect from the draft.
How to Prompt AI the Right Way
The quality of your first draft depends heavily on what you give the tool. Whether you're using ChatGPT, KoalaWriter, or Writesonic — a strong prompt makes all the difference.
Here's a basic prompt structure I use with ChatGPT:
"Write a detailed blog post section for a guide titled 'How to Write Blog Posts Using AI'. This section should cover Step 4: Generating the first draft. Use a friendly tone, keep sentences short, and make it suitable for beginner bloggers. Include tips, examples, and subheadings if necessary."
If you're using KoalaWriter or Writesonic, you can simply insert your title and outline. These tools auto-generate structured posts with:
- Intro
- H2/H3 headings
- Paragraphs
- CTA or FAQ section
You can still tweak the tone (casual, professional, informative) before hitting "Generate."
Don't Worry About Perfection (Yet)
Your first draft is not your final post. It's a starting point.
Expect things like:
- Slightly repetitive phrasing
- Missing examples
- Generic conclusions
That's normal. The goal here is speed + structure. You'll fix the rest in the next step.
How I Do It (Real Workflow)
When writing this very post, I:
- Used ChatGPT to write parts of the outline (like this one)
- Used KoalaWriter to generate entire step-based drafts in seconds
- Edited them by hand to add personal insights, tighten flow, and match my tone
AI gives you momentum. It gets you 60–70% there — and that's usually all you need to beat writer's block.
Step 5: Polish, Personalize, and Optimize
Once your AI-generated draft is ready, your job as a real blogger begins.
AI gives you the bones — but it's your editing, voice, and experience that bring the article to life.
Let's walk through how to make your blog post shine.
1. Read It Out Loud (Seriously)
One of the fastest ways to spot awkward phrases, robotic tone, or unnatural transitions is by reading your article out loud.
Ask yourself:
- Does this sound like something I'd actually say?
- Is it too stiff or overly generic?
- Would my audience find this helpful or boring?
Fix anything that feels flat.
2. Add Personal Touches and Real Examples
To stand out, your post needs your perspective.
Add things like:
- A quick note like "Here's what worked for me when I first used KoalaWriter…"
- Screenshots of your process
- Specific affiliate tools you've tried
- Honest pros/cons or unexpected lessons
This makes your post unique and trustworthy — even if AI helped with 70% of the writing.
3. Fix Structure, Flow, and Clarity
Check for:
- Proper H2/H3 hierarchy
- Smooth transitions between sections
- Sentence variety (avoid same-length repetition)
- Active voice and punchy intros
Even small edits here make a big difference in readability.
4. Add Internal Links and External References
This helps with SEO and gives your readers more value.
- Link to your related blog posts
- Link to trusted sources (e.g. Google Search Central, Moz, Ahrefs)
- Don't forget affiliate links — but keep them relevant and natural
5. Optimize Your SEO Elements
If you use Rank Math or Yoast SEO, fill in:
- Meta title & description (include your main keyword)
- Focus keyword
- Add alt text to images
- Use your keyword in the intro, headers, and naturally throughout the text
- Aim for at least 1,500–2,000 words for long-form SEO posts
A polished post doesn't just read better — it performs better.
Google notices quality. So do real people. This is where your edge comes in.
Step 6: Publish and Track Performance
You've picked your keyword, built an outline, used AI to draft, polished your post, and optimized for SEO.
Now it's time to hit that Publish button — but your work isn't done just yet.
A great blog grows not just by writing, but by watching what works and improving over time.
1. Submit Your Post to Google Search Console
If this is your first post (or your site is new), you'll want Google to discover it as soon as possible.
- Log into Google Search Console
- Paste your URL into the Inspect tool
- Click "Request Indexing"
This tells Google, "Hey, I just published something — come check it out."
2. Track Rankings and Clicks
Over the next few days or weeks, monitor:
- Which keywords are driving impressions
- What position your post is ranking
- Whether people are clicking on your post
You can use:
- Google Search Console (free)
- Ubersuggest (free/paid)
- SerpRobot, Ahrefs, or Rank Tracker if you want deeper data
3. Update and Improve Based on Data
After 2–4 weeks, revisit your post and check:
- Are you ranking on page 1, 2, or not at all?
- Are readers bouncing quickly?
- Are you getting clicks but no conversions?
Sometimes, small tweaks — like changing a heading, adding a new section, or improving the meta description — can bring huge results.
Remember: Google loves fresh, complete, and helpful content.
4. Build Internal Links from New Posts
As you publish more articles, always go back and:
- Link from new posts to this one
- Update this post to link to newer related articles
This builds topical authority and helps with on-page SEO.
5. Repurpose Your Content
Once you've got a solid blog post, don't let it sit in one place.
You can repurpose it into:
- A Twitter/X thread
- A LinkedIn post
- A YouTube video outline
- An email newsletter
- A Quora answer
That's how you get more traffic without writing from scratch.
Publishing is just the beginning. Treat every post as a long-term asset — and keep refining it like a pro.
Conclusion: Writing Blog Posts with AI Is Easier Than You Think
If you're just starting out as a blogger or affiliate marketer, writing can feel overwhelming — especially when English isn't your first language (I've been there too!).
But in 2025, you don't have to do it alone.
With the right AI writing tool, a simple outline, and a few editing skills, you can:
- Publish blog content consistently
- Write posts that actually rank
- Grow your site without burning out
You don't need to be an expert.
You just need a system — and that's exactly what you've got now.
Bonus: Pro Tips from My Own Workflow
Here are a few things I've learned while using AI to build this blog (Affibest.com):
- Always write with a goal in mind — traffic, affiliate click, email sign-up
- Save your best prompts so you can reuse them later
- Use multiple tools: ChatGPT for idea generation, KoalaWriter for long-form posts, Writesonic for quick outputs
- Track what works — double down on what ranks and update what doesn't
- Write like you're helping a friend, not a search engine
AI is powerful, but it's your voice, insight, and effort that turn a generic draft into a real blog post that people trust.
Ready to Start Writing with AI?
Start small. Write your next blog post using this exact workflow. You'll be surprised how fast and fun blogging can become — even if you're doing it solo.
And if this guide helped you, I'd love to hear from you — drop a comment, share your first AI-written post, or connect with me on affibest.com.
You've got this.
Let AI be your sidekick — and let your blog do the talking.